How to Clean Your Microwave in 5 Minutes
Why Your Microwave Needs a Cleaning and Why It Matters Microwave Cleaning Tips
Okay, let's be real. We all use our microwaves. Popcorn, reheating leftovers, the occasional mug cake… it’s a kitchen workhorse. But how often do we actually *clean* it? Probably not enough, right? A dirty microwave isn't just gross; it can affect the taste of your food, harbor bacteria (yikes!), and even be a fire hazard if food splatters build up too much. Think about it: that burnt popcorn smell lingering after weeks, the splattered sauce hardening into concrete, and the potential for… *things*… growing inside. So, let’s tackle this quickly and efficiently. Five minutes is all it takes to get your microwave sparkling and ready for its next culinary adventure.
The 5-Minute Microwave Cleaning Method The Steam Power Approach
This method relies on the power of steam to loosen grime and make wiping a breeze. It's simple, effective, and uses ingredients you probably already have in your kitchen. Here's what you'll need:
- 1 cup of water
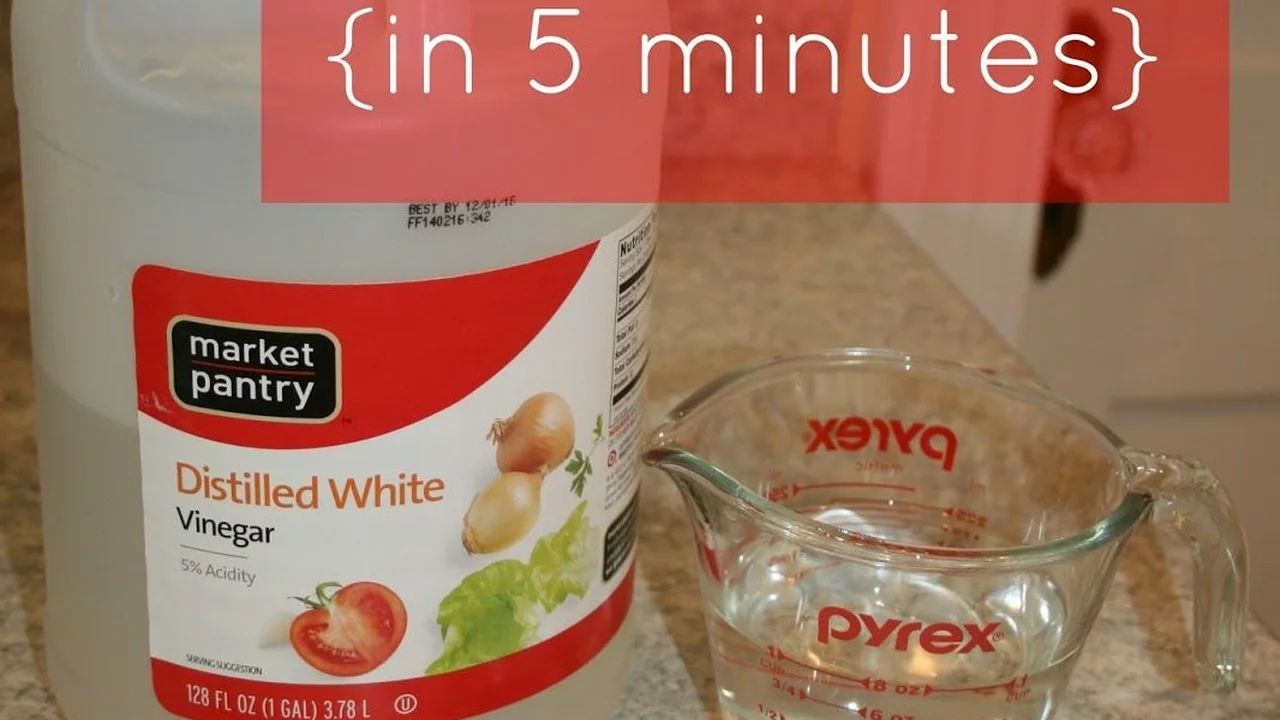
- 1-2 tablespoons of white vinegar (or lemon juice)
- A microwave-safe bowl
- A sponge or cloth
Step 1: The Steam Bath. Pour the water into the microwave-safe bowl and add the vinegar or lemon juice. The vinegar helps to break down grease and deodorize, while lemon juice adds a fresh scent. Stir it up a bit.
Step 2: Microwave Magic. Place the bowl in the microwave and heat it on high for 3-4 minutes. You want the water to boil and create plenty of steam. Watch carefully – you want it to steam, not explode! If it starts to look like it's going to boil over, stop it and reduce the time slightly for your next attempt.
Step 3: The Waiting Game. Leave the bowl in the microwave for another 1-2 minutes *after* it stops heating. This allows the steam to continue working its magic, loosening all that stubborn gunk. Don't open the door immediately! Patience is key.
Step 4: Wipe Away the Grime. Carefully remove the bowl (it will be hot!). Using a sponge or cloth, wipe down the inside of the microwave. You'll be amazed at how easily the food splatters come off. Pay attention to the top, sides, and bottom, as well as the turntable and its supporting ring. For particularly stubborn spots, you might need to scrub a little, but the steam should have done most of the work.
Step 5: Rinse and Repeat (If Necessary). If there are any lingering streaks or residue, dampen your sponge or cloth with clean water and wipe the interior again. Make sure to dry the microwave thoroughly. And that's it! Your microwave should now be clean, fresh, and ready to go.
Best Microwave Cleaners Product Recommendations and Comparisons
While the steam method is fantastic for regular cleaning, sometimes you need a little extra oomph. Here are some recommended microwave cleaners, their uses, and a comparison:
Angry Mama Microwave Cleaner
Use Case: The Angry Mama is a fun and effective way to steam clean your microwave. You fill her with water and vinegar (or lemon juice), pop her in the microwave, and let her do her thing. The steam comes out of her "angry" face, loosening the grime.
Pros: Easy to use, cute design, effective for light to medium cleaning.
Cons: Can be a bit gimmicky, doesn't work as well on heavily soiled microwaves.
Price: Around $10 - $15 on Amazon and major retailers.
CLR Calcium, Lime, & Rust Remover
Use Case: CLR is a powerful cleaner that can remove tough stains and buildup in your microwave. Use with caution and always dilute it properly.
Pros: Very effective on stubborn stains, removes calcium and lime deposits.
Cons: Strong chemical smell, requires careful handling and dilution, not ideal for regular cleaning.
Price: Around $5 - $8 per bottle at most grocery and hardware stores.
Method All-Purpose Cleaner
Use Case: Method All-Purpose Cleaner is a great option for everyday cleaning and maintenance. It's plant-based, smells good, and is gentle on surfaces.
Pros: Environmentally friendly, pleasant scent, safe for most surfaces, effective for light cleaning.
Cons: Not as powerful as some other cleaners, may not remove heavy grease or stains.
Price: Around $3 - $5 per bottle at Target, grocery stores, and online.
Comparison Table:
| Product | Use Case | Pros | Cons | Price |
|---|---|---|---|---|
| Angry Mama | Steam Cleaning | Easy, Cute, Effective (light-medium) | Gimmicky, Not for heavy soil | $10 - $15 |
| CLR | Tough Stains | Very Effective, Removes Deposits | Strong Smell, Requires Caution | $5 - $8 |
| Method | Everyday Cleaning | Eco-Friendly, Good Scent, Safe | Not as Powerful | $3 - $5 |
Microwave Cleaning Frequency Tips for Maintaining a Clean Microwave
The frequency of cleaning depends on how often you use your microwave. If you use it daily, a quick wipe-down once a week is a good idea. A deeper clean with the steam method or a cleaner like Method should be done every 2-4 weeks. If you only use your microwave occasionally, you can clean it less frequently.
Pro Tip: Clean up spills immediately! The longer they sit, the harder they are to remove.
Cleaning Different Types of Microwaves Considerations for Various Models
Most microwaves can be cleaned using the same methods, but there are a few things to keep in mind:
- Stainless Steel Microwaves: Be careful not to scratch the surface with abrasive cleaners. Use a microfiber cloth and a stainless steel cleaner for best results.
- Microwaves with Turntables: Remove the turntable and wash it separately in the sink with soap and water. Don't forget to clean the supporting ring underneath!
- Convection Microwaves: These microwaves have a fan and heating element, so it's important to clean them regularly to prevent buildup. Follow the manufacturer's instructions for cleaning the convection features.
DIY Microwave Cleaning Solutions Natural Alternatives and Recipes
If you prefer to avoid harsh chemicals, there are plenty of natural alternatives you can use to clean your microwave:
- Lemon Juice: As mentioned earlier, lemon juice is a great deodorizer and helps to loosen grime.
- Baking Soda: Make a paste of baking soda and water and use it to scrub stubborn stains.
- Orange Peels: Place orange peels in a bowl of water and microwave for a few minutes. The citrus scent will freshen the microwave.
- Vinegar: A solution of equal parts vinegar and water is a powerful cleaner and deodorizer.
Preventing Microwave Messes Simple Habits to Keep Your Microwave Clean
Prevention is key to keeping your microwave clean. Here are a few simple habits to adopt:
- Cover Your Food: Always cover your food when microwaving to prevent splatters. Use a microwave-safe lid or plastic wrap.
- Use Microwave-Safe Containers: Make sure your containers are microwave-safe to prevent melting or warping.
- Wipe Up Spills Immediately: Don't let spills sit and harden. Wipe them up as soon as they happen.
- Ventilate Your Microwave: Leave the microwave door slightly ajar after use to allow moisture to escape.
Troubleshooting Common Microwave Cleaning Problems Addressing Stubborn Stains
Sometimes, despite your best efforts, you might encounter stubborn stains that are difficult to remove. Here are a few tips for dealing with them:
- Baking Soda Paste: Apply a paste of baking soda and water to the stain and let it sit for a few minutes before scrubbing.
- Magic Eraser: A Magic Eraser can be effective on tough stains, but use it with caution on stainless steel surfaces.
- Commercial Microwave Cleaner: If all else fails, use a commercial microwave cleaner specifically designed for stubborn stains.
The Importance of Regular Microwave Maintenance Avoiding Potential Hazards
Regular microwave maintenance is important for safety and hygiene. A dirty microwave can be a breeding ground for bacteria and can even be a fire hazard. By cleaning your microwave regularly, you can prevent these problems and keep your kitchen safe and healthy.
Beyond Cleaning Deodorizing Your Microwave for a Fresh Scent
Even after cleaning, your microwave might still have a lingering odor. Here are a few ways to deodorize your microwave:
- Lemon Juice: Microwave a bowl of water with lemon juice for a few minutes.
- Baking Soda: Place an open box of baking soda in the microwave to absorb odors.
- Coffee Grounds: Place a bowl of dry coffee grounds in the microwave overnight to absorb odors.
So there you have it! Cleaning your microwave doesn't have to be a chore. With these tips and tricks, you can keep your microwave clean, fresh, and ready for its next culinary adventure. Now go forth and conquer that microwave grime!
:max_bytes(150000):strip_icc()/277019-baked-pork-chops-with-cream-of-mushroom-soup-DDMFS-beauty-4x3-BG-7505-5762b731cf30447d9cbbbbbf387beafa.jpg)